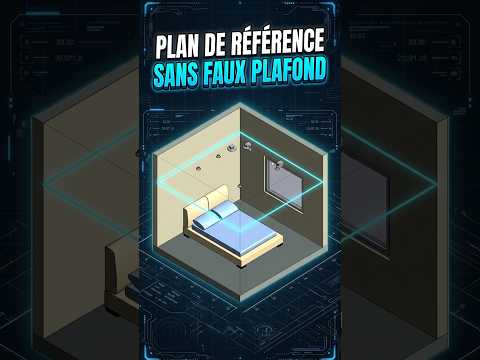
Designing building services in Autodesk Revit can often feel like aiming at a moving target. One of the most common challenges MEP engineers and BIM modelers face is placing ceiling-hosted elements—such as air diffusers, light fixtures, and sprinklers—when the architectural false ceiling layout has not yet been finalized.
If you host your elements directly to an architectural ceiling that gets modified or deleted later, your entire model can quickly turn into a mess of broken connections and orphaned elements. Fortunately, there is a simple workflow trick that makes placing equipment in unfinalized spaces painless and error-free.
The Problem with Direct Ceiling Hosting
When working on early-stage BIM models, architectural design changes happen constantly. If you rely heavily on standard ceiling-hosted families, any major change to ceiling heights or grid layouts forces you to manually re-host dozens of components. This leads to wasted project hours, lost parameter data, and potential coordination errors during clash detection.
The Solution: Work Plane-Based Placement
Instead of attaching your components directly to an unconfirmed ceiling surface, use reference planes or work plane-based families to maintain flexibility.
Here is the step-by-step approach: 1. Establish a Reference Plane: Create a temporary Reference Plane at the intended target ceiling height. Name it clearly so it is easily identifiable in your project browser. 2. Place Work Plane-Based Components: Load face-based or work plane-based families into your project. When placing the equipment, assign its host to your newly created Reference Plane rather than the linked architectural ceiling. 3. Lock to Final Architecture: Once the architect freezes the ceiling design, simply align and lock your Reference Plane (or individual elements) to the final ceiling face.
Why This Workflow Upgrades Your BIM Process
Adopting this technique ensures your model remains flexible throughout the design phase. By decoupling your mechanical, electrical, and plumbing components from temporary architectural surfaces, you retain full control over component elevation without risking deleted elements.
Mastering how to position your MEP equipment during early design phases will keep your Revit models clean, reduce tedious rework, and significantly boost your overall modeling efficiency.


