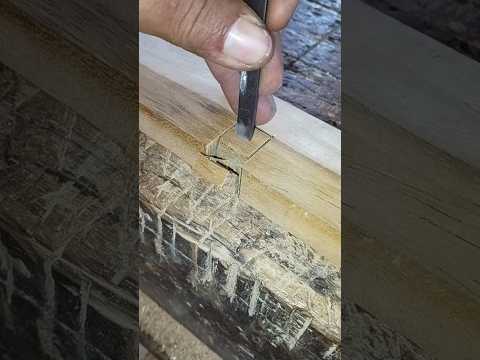
Building sturdy furniture is a rewarding DIY endeavor, but getting the structure right requires patience, precision, and the right techniques. One of the most critical stages in furniture making is the assembly of the chair frame—often referred to as the apron or stretcher installation. A properly aligned frame ensures your chair remains balanced, safe, and durable for years to come.
Preparing Your Workpiece for Assembly
Before diving into the assembly process, preparation is key. Make sure all your wood components are accurately cut, sanded, and aligned. Double-check your measurements to prevent uneven angles. Using clamps to hold the pieces in place temporarily will give you a clear preview of the final structure and ensure tight joints.
Joining the Frame with Precision
To create rock-solid connections between the legs and the frame rails, using high-quality power tools can make a world of difference. Cordless drills and impact drivers allow you to drive pocket screws or dowels into tough hardwoods effortlessly without splitting the material. By combining traditional joinery techniques with modern power tools, you drastically reduce assembly time while maintaining maximum structural integrity.
Securing and Perfecting the Joints
Once the joints are aligned, apply wood glue evenly along the contact surfaces. Secure the joints tightly using heavy-duty bar clamps, and drive in your fasteners. Make sure to check that the frame is perfectly square by measuring diagonally from corner to corner before the glue sets. Having versatile power tools nearby—such as a reliable sander—will also help you smooth out any flushed edges once everything is fully assembled.
Mastering chair frame installation doesn't have to be complicated. With proper planning and the right techniques, you can construct sturdy, professional-quality furniture right in your home workshop!


