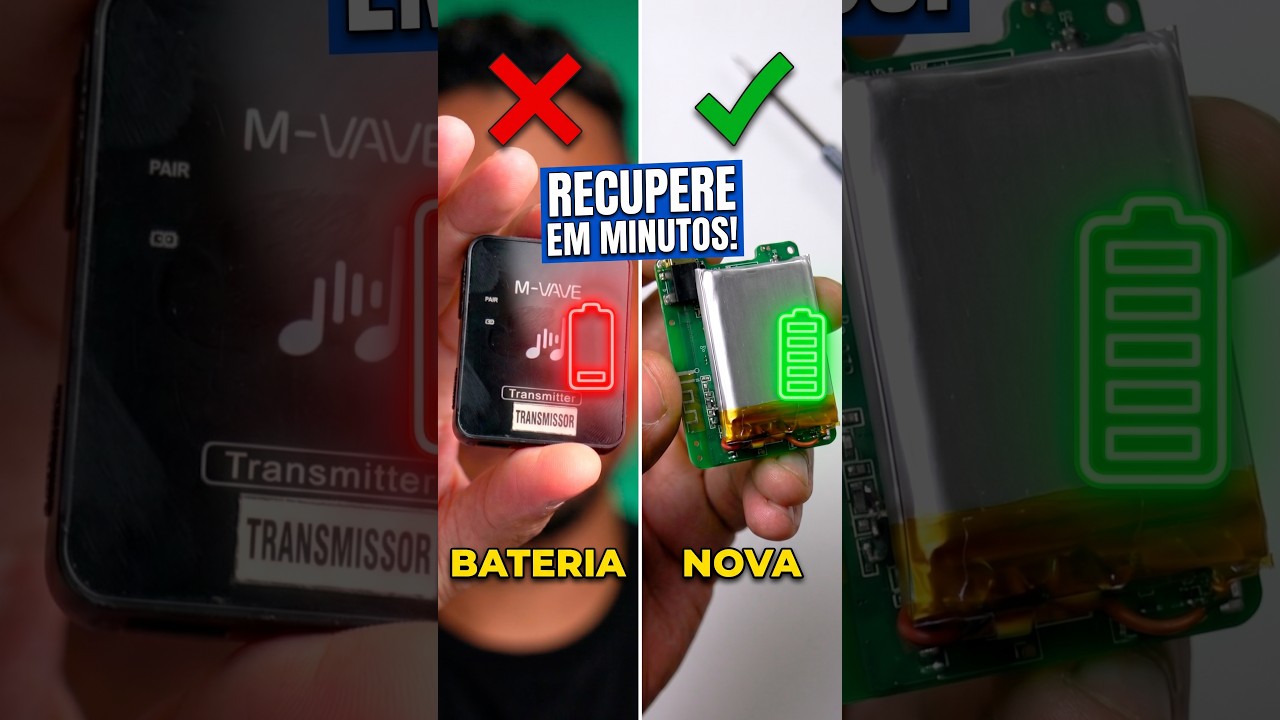
Don't Throw Away Your M-VAVE WP-10: Easy Audio Equipment Battery Fix
This article provides an in-depth exploration of Equipment, covering foundational concepts, practical applications, and engineering insights.
Wireless in-ear monitoring systems have revolutionized live performance for independent musicians, and the M-VAVE WP-10 has earned a solid reputation as a reliable, budget-friendly solution. However, after months of regular gigging and continuous charging cycles, many users run into a common issue: a worn-out, degraded, or swollen battery.
Before you assume your device is broken and rush out to buy a replacement, stop right there. You do not need to throw your transmitter or receiver away. With a quick, inexpensive DIY fix, you can restore full battery life and get your system back on stage.
Why You Shouldn't Discard Your M-VAVE WP-10
Lithium-polymer batteries naturally degrade over time, losing their ability to hold a charge. In some cases, overcharging can cause the pouch to swell, preventing the device from powering on properly. Fortunately, modern wireless audio equipment is often designed with accessible internals that allow for straightforward component repairs.
The core electronics and wireless transmission chips of the M-VAVE WP-10 rarely fail; the battery is almost always the only worn component. Swapping out the depleted cell is a cost-effective, eco-friendly approach that saves money and keeps functional electronics out of landfills.
Step-by-Step Battery Replacement Overview
Replacing the internal battery is straightforward and requires only basic tools:
- Source a Replacement Cell: Purchase a compatible 3.7V lithium-polymer (LiPo) battery matching the physical dimensions and milliamp-hour (mAh) rating of the original cell.
- Open the Housing: Carefully open the outer plastic casing using a small pry tool or precision screwdriver, taking care not to damage the circuit board.
- Remove the Old Battery: Carefully disconnect or desolder the power leads from the board, ensuring you do not puncture the swollen battery or cross the positive and negative terminals.
- Install and Reseal: Solder the new battery wires (red to positive, black to negative) securely to the contact pads, place insulating tape around the connections, and reassemble the casing.
Save Money and Maximize Gear Lifespan
Learning to handle minor repairs on your stage equipment pays off quickly. A simple battery swap costs a fraction of a new unit and restores your M-VAVE WP-10 to factory performance, giving you hours of reliable wireless monitoring for your upcoming rehearsals and live gigs.
Visual Insights & Illustrations


