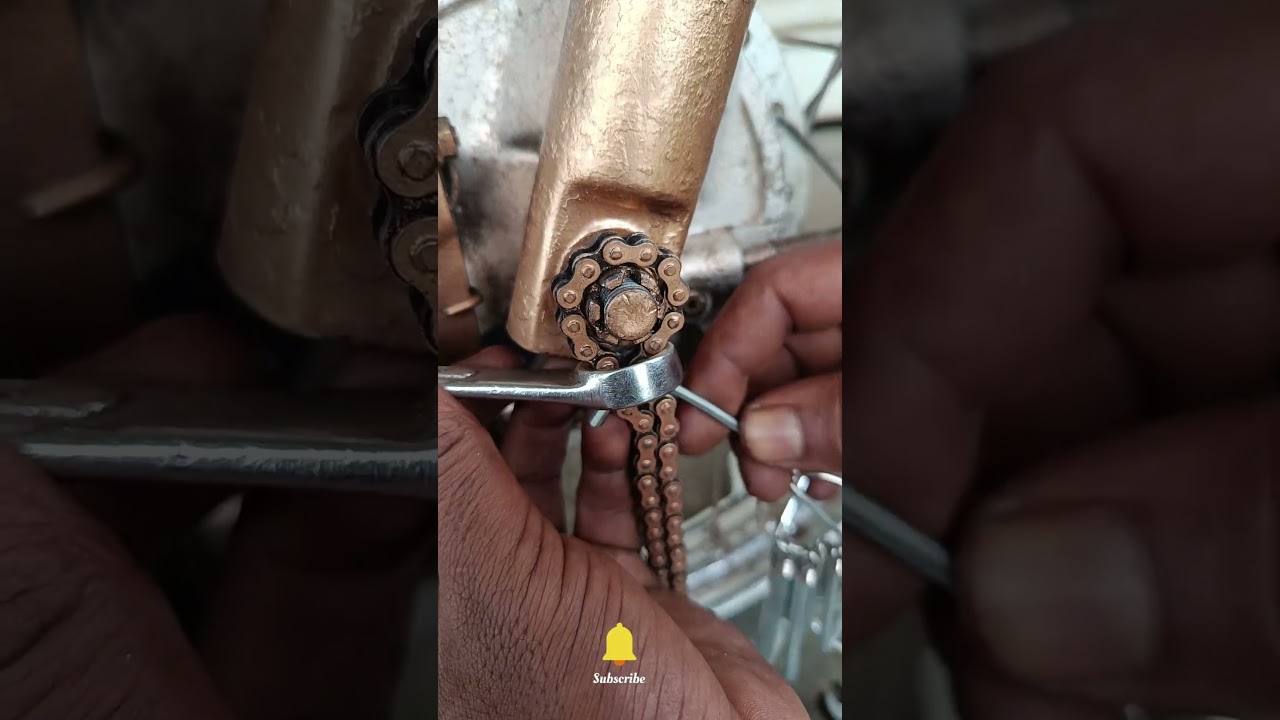
Smart DIY Tooling Hacks: How to Unlock Stubborn Wheel Nuts Easily
This article provides an in-depth exploration of Tooling, covering foundational concepts, practical applications, and engineering insights.
Every mechanic and DIY biker knows the frustration of dealing with a stubborn, frozen wheel nut. Whether caused by rust, grime, or over-torquing during previous maintenance, a jammed nut can quickly bring your repair project to a sudden halt. Fortunately, you don't always need costly machinery to solve this common garage problem. With smart DIY tooling techniques, you can unlock even the tightest wheel nuts using a simple chain wrench pin.
Why Motorcycle Wheel Nuts Get Stuck
Wheel nuts endure extreme conditions on the road. Constant exposure to moisture, road debris, and high thermal stress leads to oxidation and thread binding. Attempting to force a stuck nut using standard socket wrenches often results in rounded edges or stripped threads, making removal even more difficult.
The Secret Hack: Utilizing a Chain Wrench Pin
A chain wrench is traditionally designed for gripping smooth or cylindrical objects, but its pin holds incredible potential for targeted leverage. This biker-approved workshop trick allows you to apply maximum torque right where you need it:
- Prepare the Fastener: Apply a generous coat of penetrating oil to the stubborn nut and let it sit for a few minutes to loosen rust and grime.
- Anchor the Pin: Position the chain wrench pin securely against the nut assembly to create a stable pivot point that prevents slipping.
- Apply Controlled Pressure: Utilize the extended leverage of the wrench handle to break the initial resistance smoothly without damaging the wheel hardware.
This brilliant technique provides a high-torque solution without requiring you to invest in expensive power equipment or specialized workshop tooling.
Essential Tips for Safe Garage Repairs
While creative hacks save time and money, safety should always be your main priority during maintenance:
- Wear Protective Gear: Always wear safety glasses, as components under high tension can suddenly slip.
- Inspect the Fasteners: Once the nut is removed, carefully check the threads for signs of wear or stripping. Replace any damaged hardware immediately.
- Prevent Future Seizing: Apply a light coating of anti-seize lubricant to the threads before reinstalling the wheel nut to make future removal effortless.
Mastering simple yet effective tricks like this is a valuable addition to your DIY tooling knowledge. The next time you face a frozen wheel nut, skip the frustration and let leverage do the hard work for you!
Visual Insights & Illustrations


