Master Your Sewing Apparatus: A Step-by-Step Guide to Installing a Machine Needle
This article provides an in-depth exploration of Apparatus, covering foundational concepts, practical applications, and engineering insights.
Whether you are a beginner crafter or an experienced tailor, knowing how to properly care for your sewing machine is the key to achieving flawless results. A crucial part of routine maintenance is replacing the needle correctly. Operating a standard stitching apparatus with a dull or improperly fitted needle can lead to skipped stitches, broken threads, and even damaged fabrics.
In this quick guide, we will walk you through the essential steps to safely and correctly install a needle into your sewing machine.
Why Correct Needle Placement Matters
The needle is the heart of your sewing equipment. If inserted incorrectly—such as backwards or not pushed high enough into the holder—the thread mechanism will fail to catch properly. Taking a few moments to ensure proper alignment will extend the life of your equipment and guarantee smooth, even seams.
Step-by-Step: How to Insert a Sewing Machine Needle
- Safety First: Before making any adjustments to your sewing apparatus, turn off the power switch or unplug the machine to prevent accidental injury.
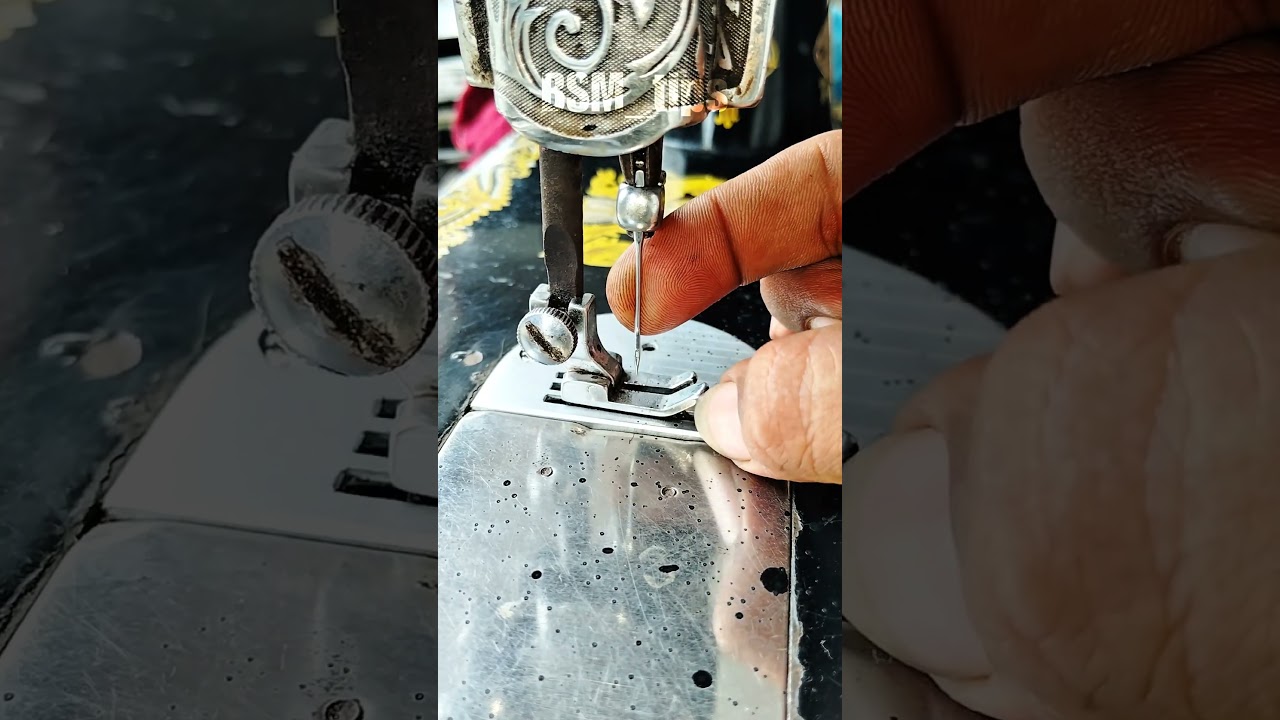
- Loosen the Needle Clamp Screw: Use a small screwdriver or your fingers to turn the needle clamp screw toward you (counterclockwise). If an old needle is still present, gently pull it down and out of the clamp.
- Identify the Flat Side of the Needle: Most household machine needles have a flat back side and a rounded front side. Check your machine manual, but in most standard setups, the flat side must face toward the back of the machine.
- Insert the New Needle: Insert the top end of the needle up into the needle clamp. Push it upward as far as it will go. Holding it firmly in place, turn the clamp screw clockwise to tighten it securely.
- Check the Alignment: Turn the handwheel slowly toward you by hand to verify that the needle moves smoothly up and down through the throat plate without striking any metal parts.
Final Tips for Better Sewing
Always match your needle size and type to the fabric you are using (e.g., denim, knit, or lightweight cotton). Additionally, remember to change your needle after every major project or after roughly eight hours of active use.
Properly maintaining your crafting apparatus ensures optimal performance and stress-free sewing every time. Happy stitching!
Visual Insights & Illustrations


