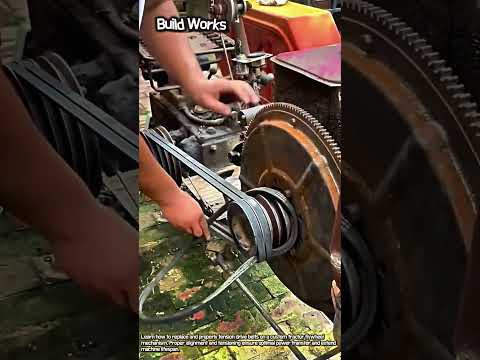
Proper maintenance is essential for keeping industrial and agricultural equipment running at peak performance. Among the critical components requiring routine care, drive belts—especially V-belts on flywheel engines—play a pivotal role in power transmission. Failing to replace worn belts can lead to severe operational downtime and costly repairs to your heavy machinery. In this guide, we break down the step-by-step process for replacing and tensioning drive belts efficiently.
Safety and Tool Preparation
Before beginning any maintenance procedure, safety should always be your top priority. Ensure the engine is completely shut off and disconnected from any power source to prevent accidental startup. Gather all necessary tools, such as tension gauges, wrenches, and pry bars. Take a moment to inspect the flywheel and pulleys for signs of debris, corrosion, or misalignment that could cause premature wear on the new belts.
Removing Old Belts and Positioning New V-Belts
To remove the old, worn drive belts, loosen the motor mounts or tensioning mechanism to create sufficient slack. Carefully slip the old belts off the flywheel grooves. When installing new V-belts, ensure you are using a matched set if the system requires multiple belts. Slipping the belts on smoothly without forcing them over the pulleys prevents internal cord damage and ensures long-lasting durability.
Proper Belt Tensioning and Alignment
Achieving the correct belt tension is crucial for maximizing performance and efficiency in farm and industrial machinery. Under-tensioned belts can slip, causing overheating and power loss, while over-tensioned belts place excessive strain on bearings and shafts. Adjust the tensioner step-by-step until the belts reach the manufacturer’s recommended deflection. Double-check that all pulleys are perfectly aligned to guarantee smooth, vibration-free operation.
Final Inspection and Testing
Once the new V-belts are secured and tensioned, manually rotate the flywheel for a few revolutions to verify that the belts track correctly in their grooves. Re-tighten all mounting bolts and replace any safety guards before turning the engine back on. Conducting regular checks following installation will ensure your engine-driven machinery operates reliably and safely for a long time to come.


